KYC Verification Guide
Introduction
The 0G Alignment Node Portal requires users to complete a Know Your Customer (KYC) verification process to ensure secure and compliant participation. This comprehensive guide will walk you through each step of the verification process using Blockpass, our current KYC provider.
Additional KYC provider options will be available soon to provide more flexibility for users.
Eligibility Requirements
Before starting the KYC process, please ensure you meet the following requirements:
Age Requirement
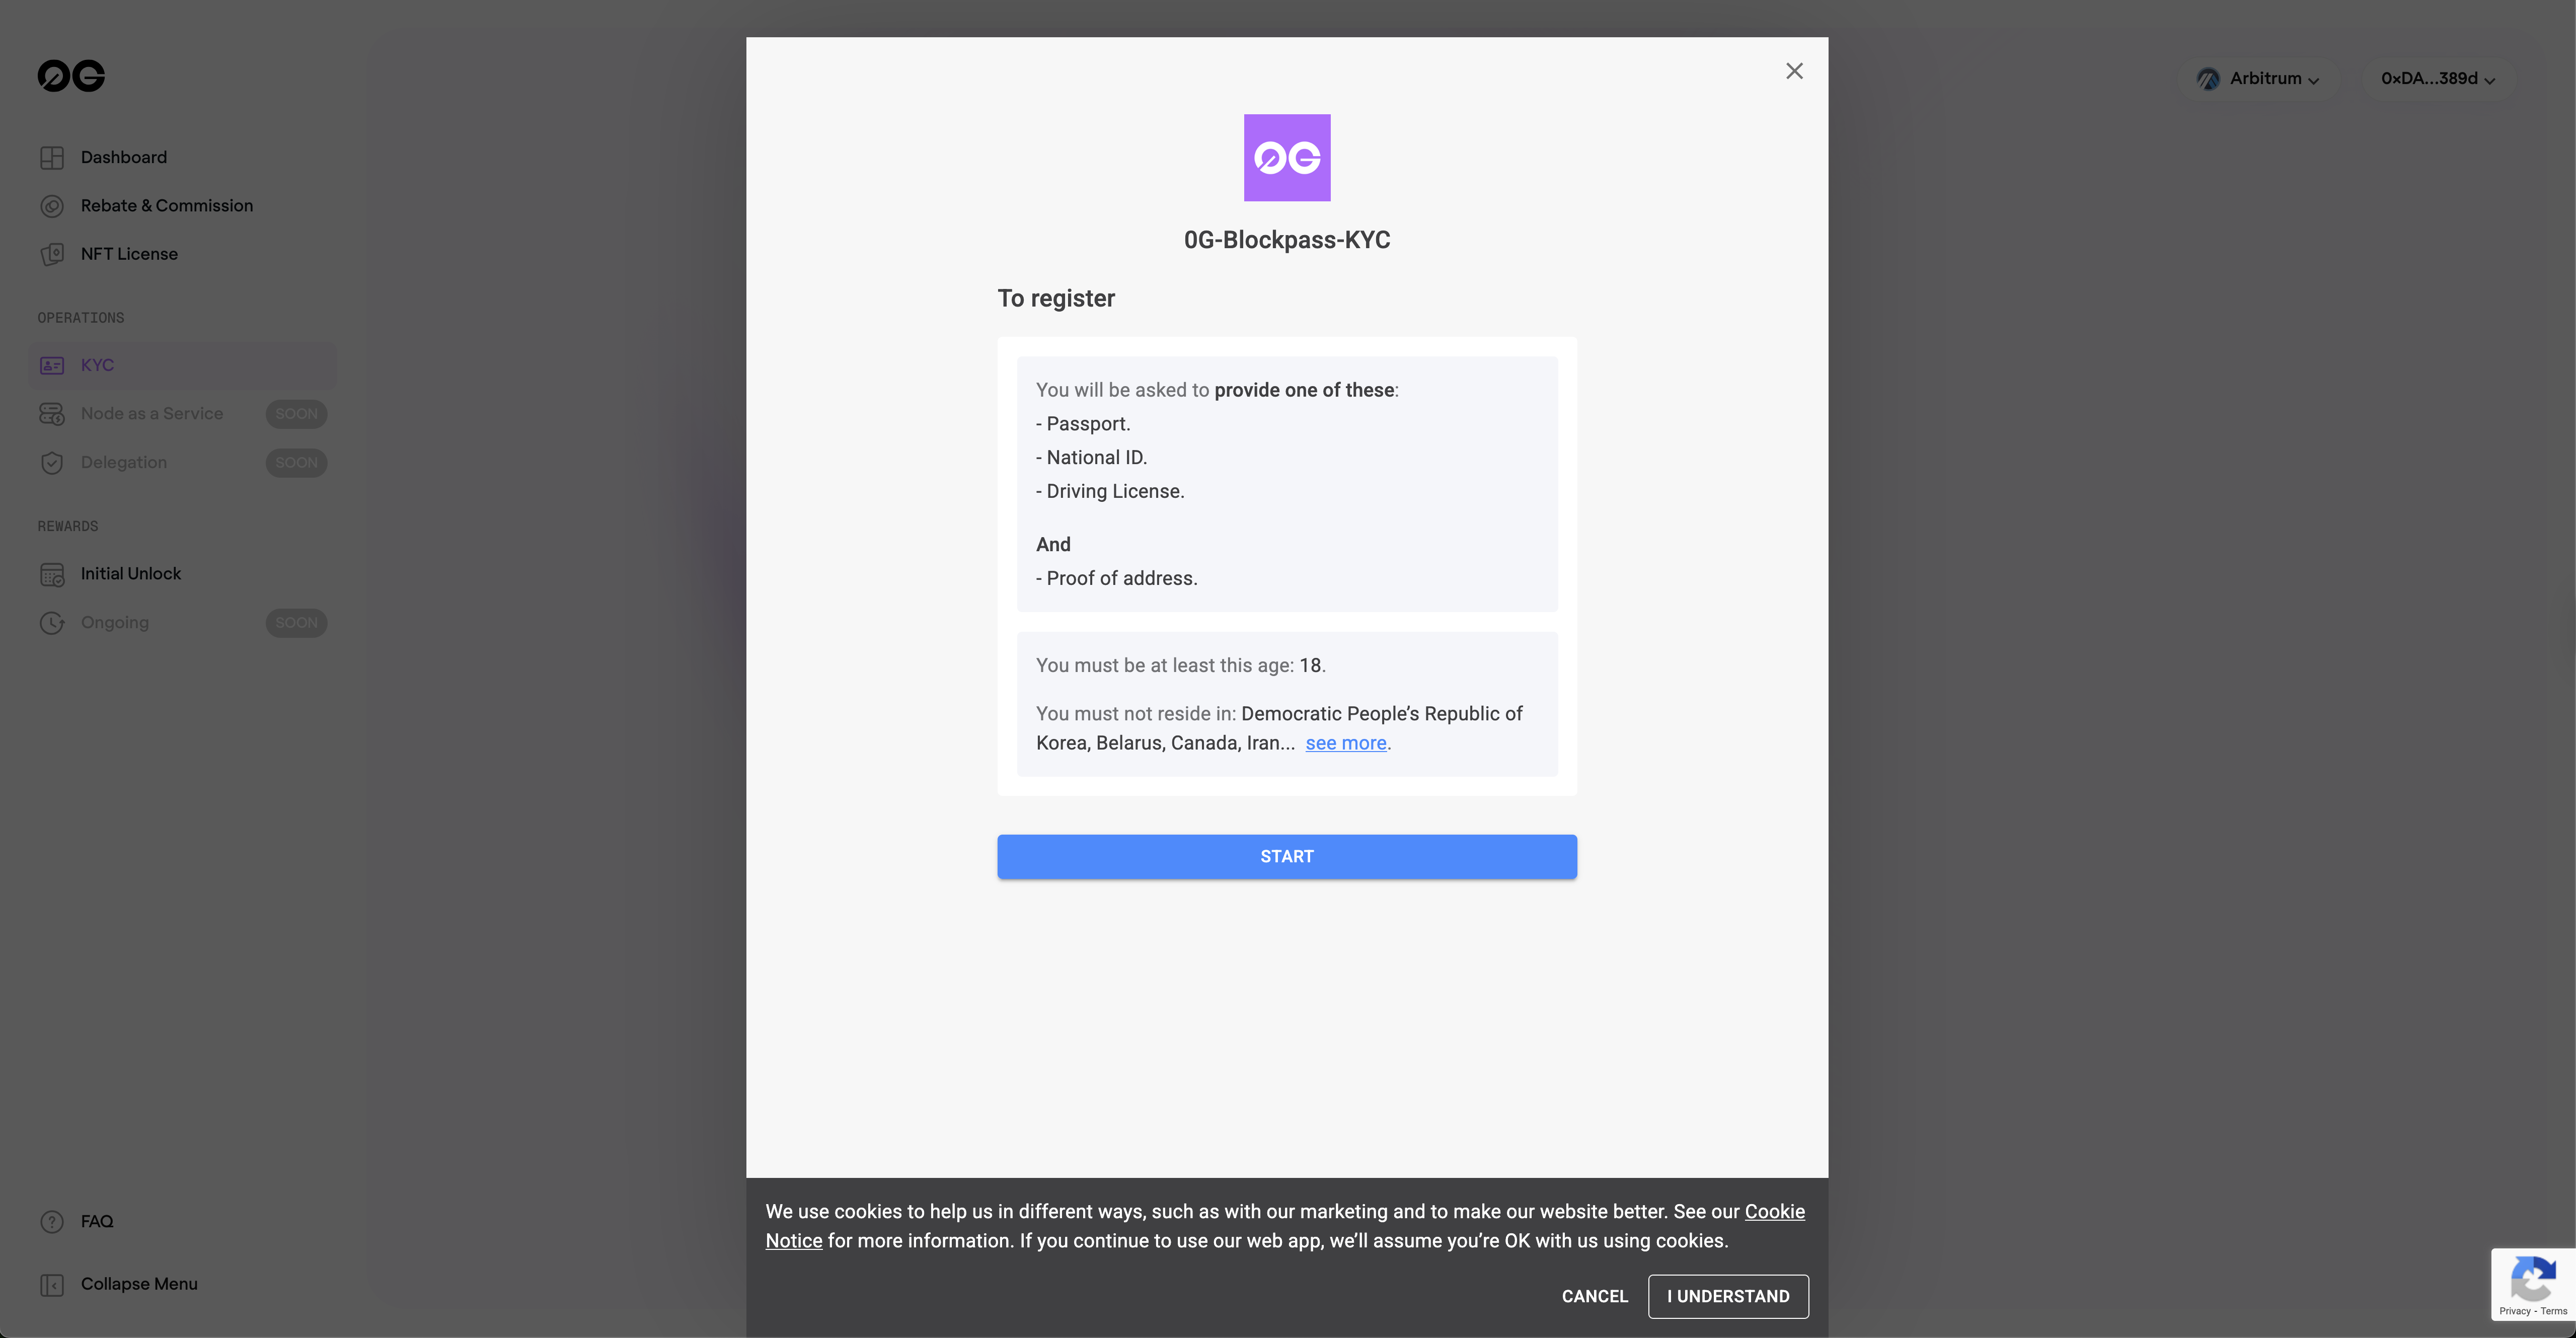
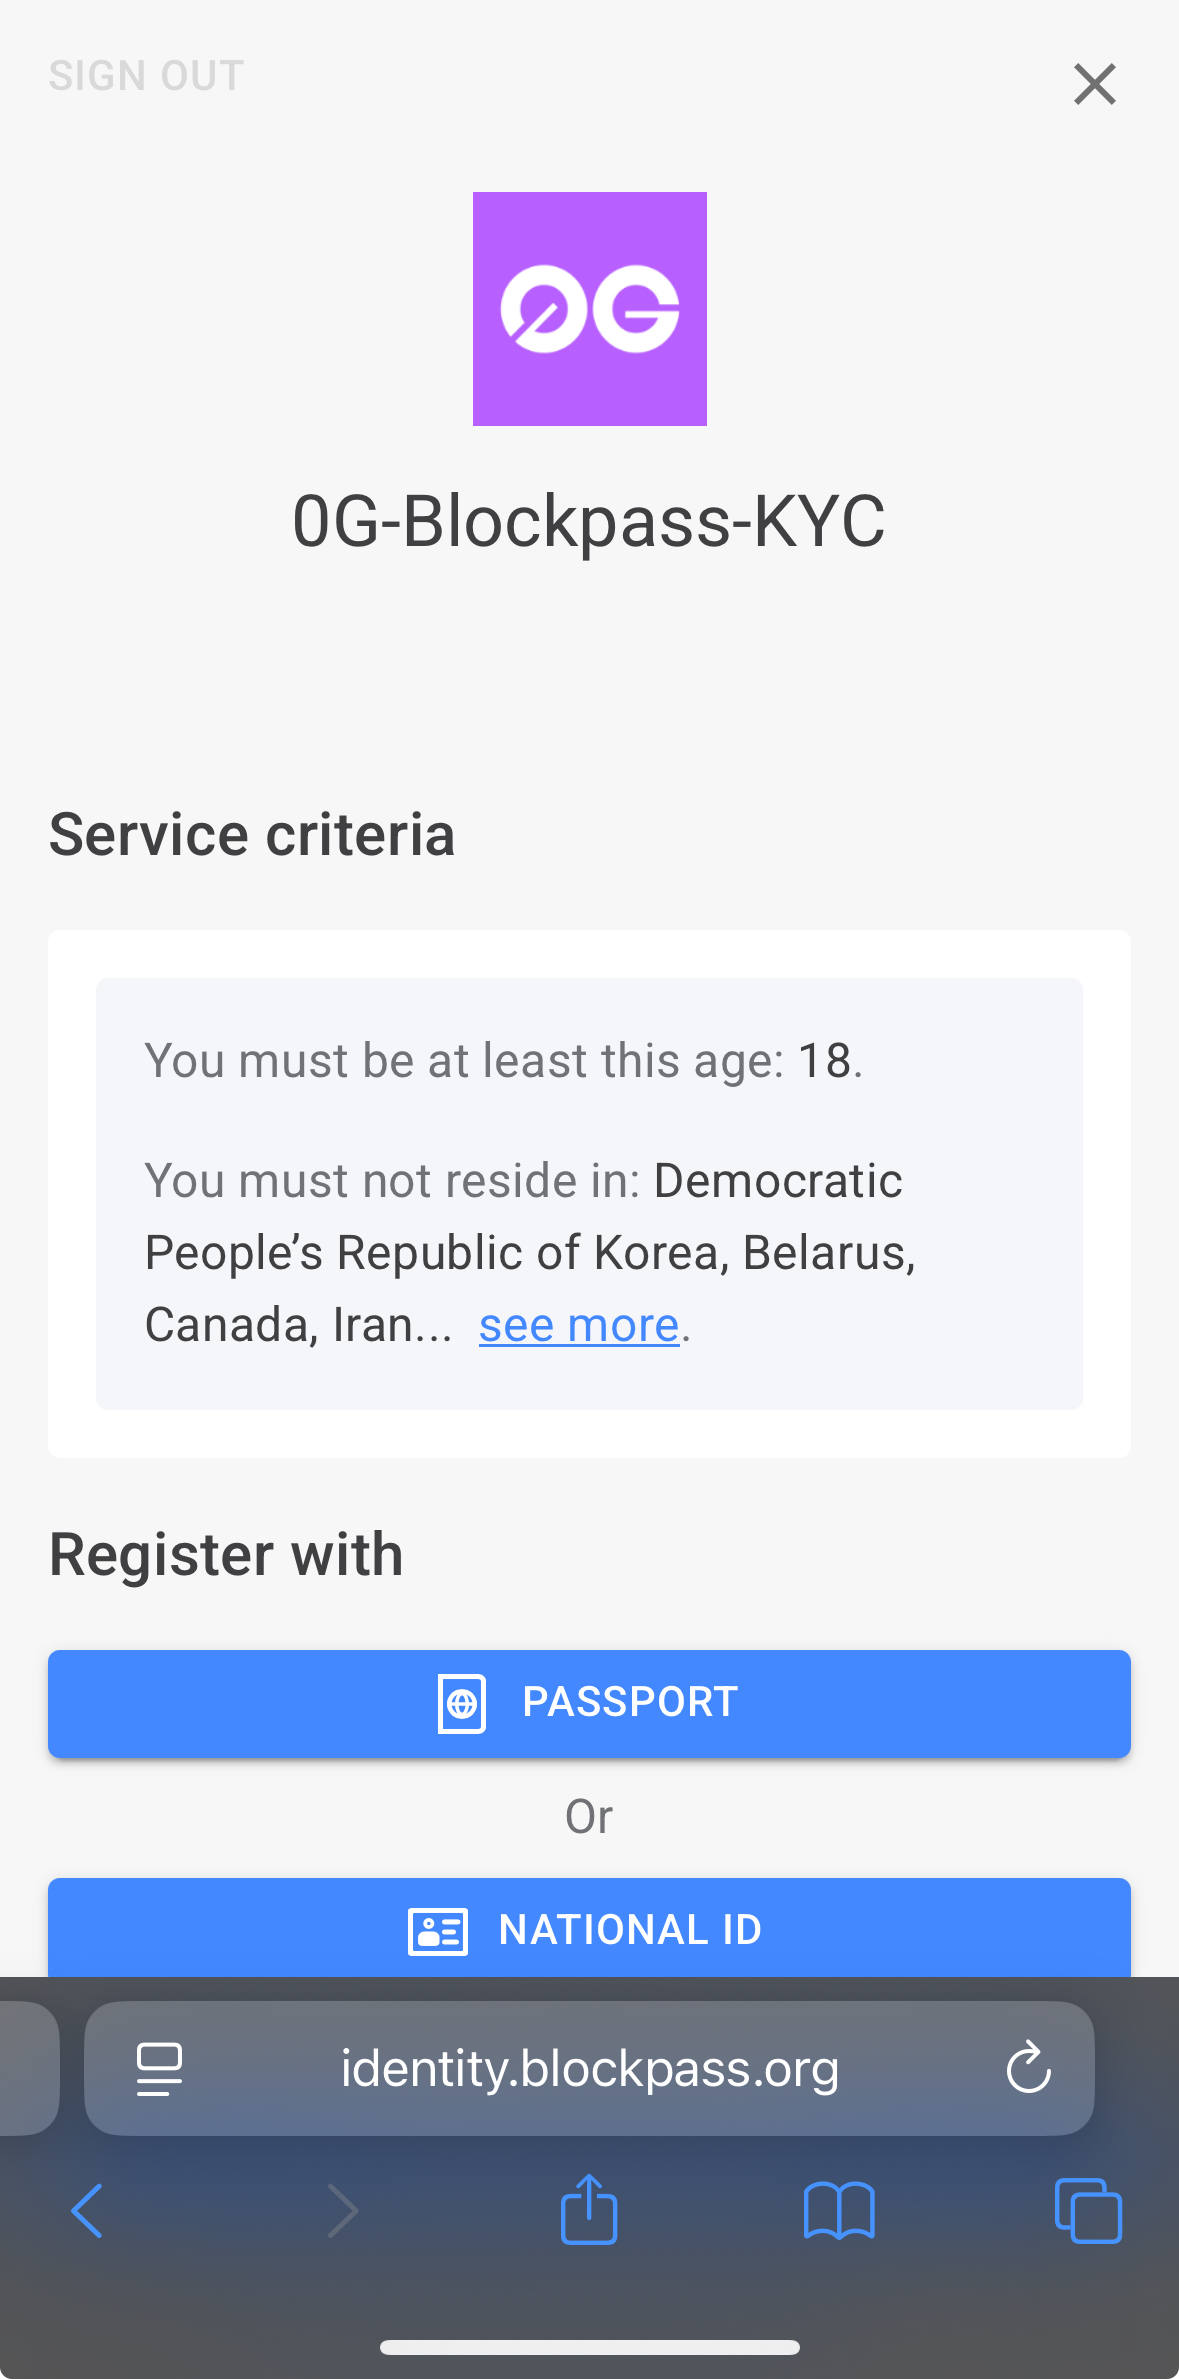
You must be at least 18 years old to participate in the 0G Alignment Node Portal.
Geographic Restrictions
Due to regulatory requirements, users from the following countries and regions are not eligible to participate:
Restricted Countries:
- Belarus, the Central African Republic, The Democratic Republic of Congo, the Democratic People's Republic of Korea, Cuba, Iran, Libya, Russia, Somalia, Sudan, South Sudan, Venezuela, Yemen, Zimbabwe.
Restricted Regions:
- Ukraine: Crimea region, Donetsk People's Republic (DNR), Luhansk People's Republic (LNR), Kherson region, and Zaporizhia region
If you reside in any of these restricted locations, you will not be able to complete the KYC process. This restriction is in place to comply with international regulations and sanctions.
Pre-Verification Checklist
Before starting your KYC verification, ensure you have:
- Valid government-issued ID
- Recent proof of address document
- Good lighting for selfie verification
- Stable internet connection (disable VPN)
- Desktop/laptop for wallet signing
- Compatible browser (Chrome/Firefox recommended)
- 15-20 minutes of uninterrupted time
Getting Started
Video Guide
Step by step video guide to complete the KYC process.
Step 1: Start the KYC Process
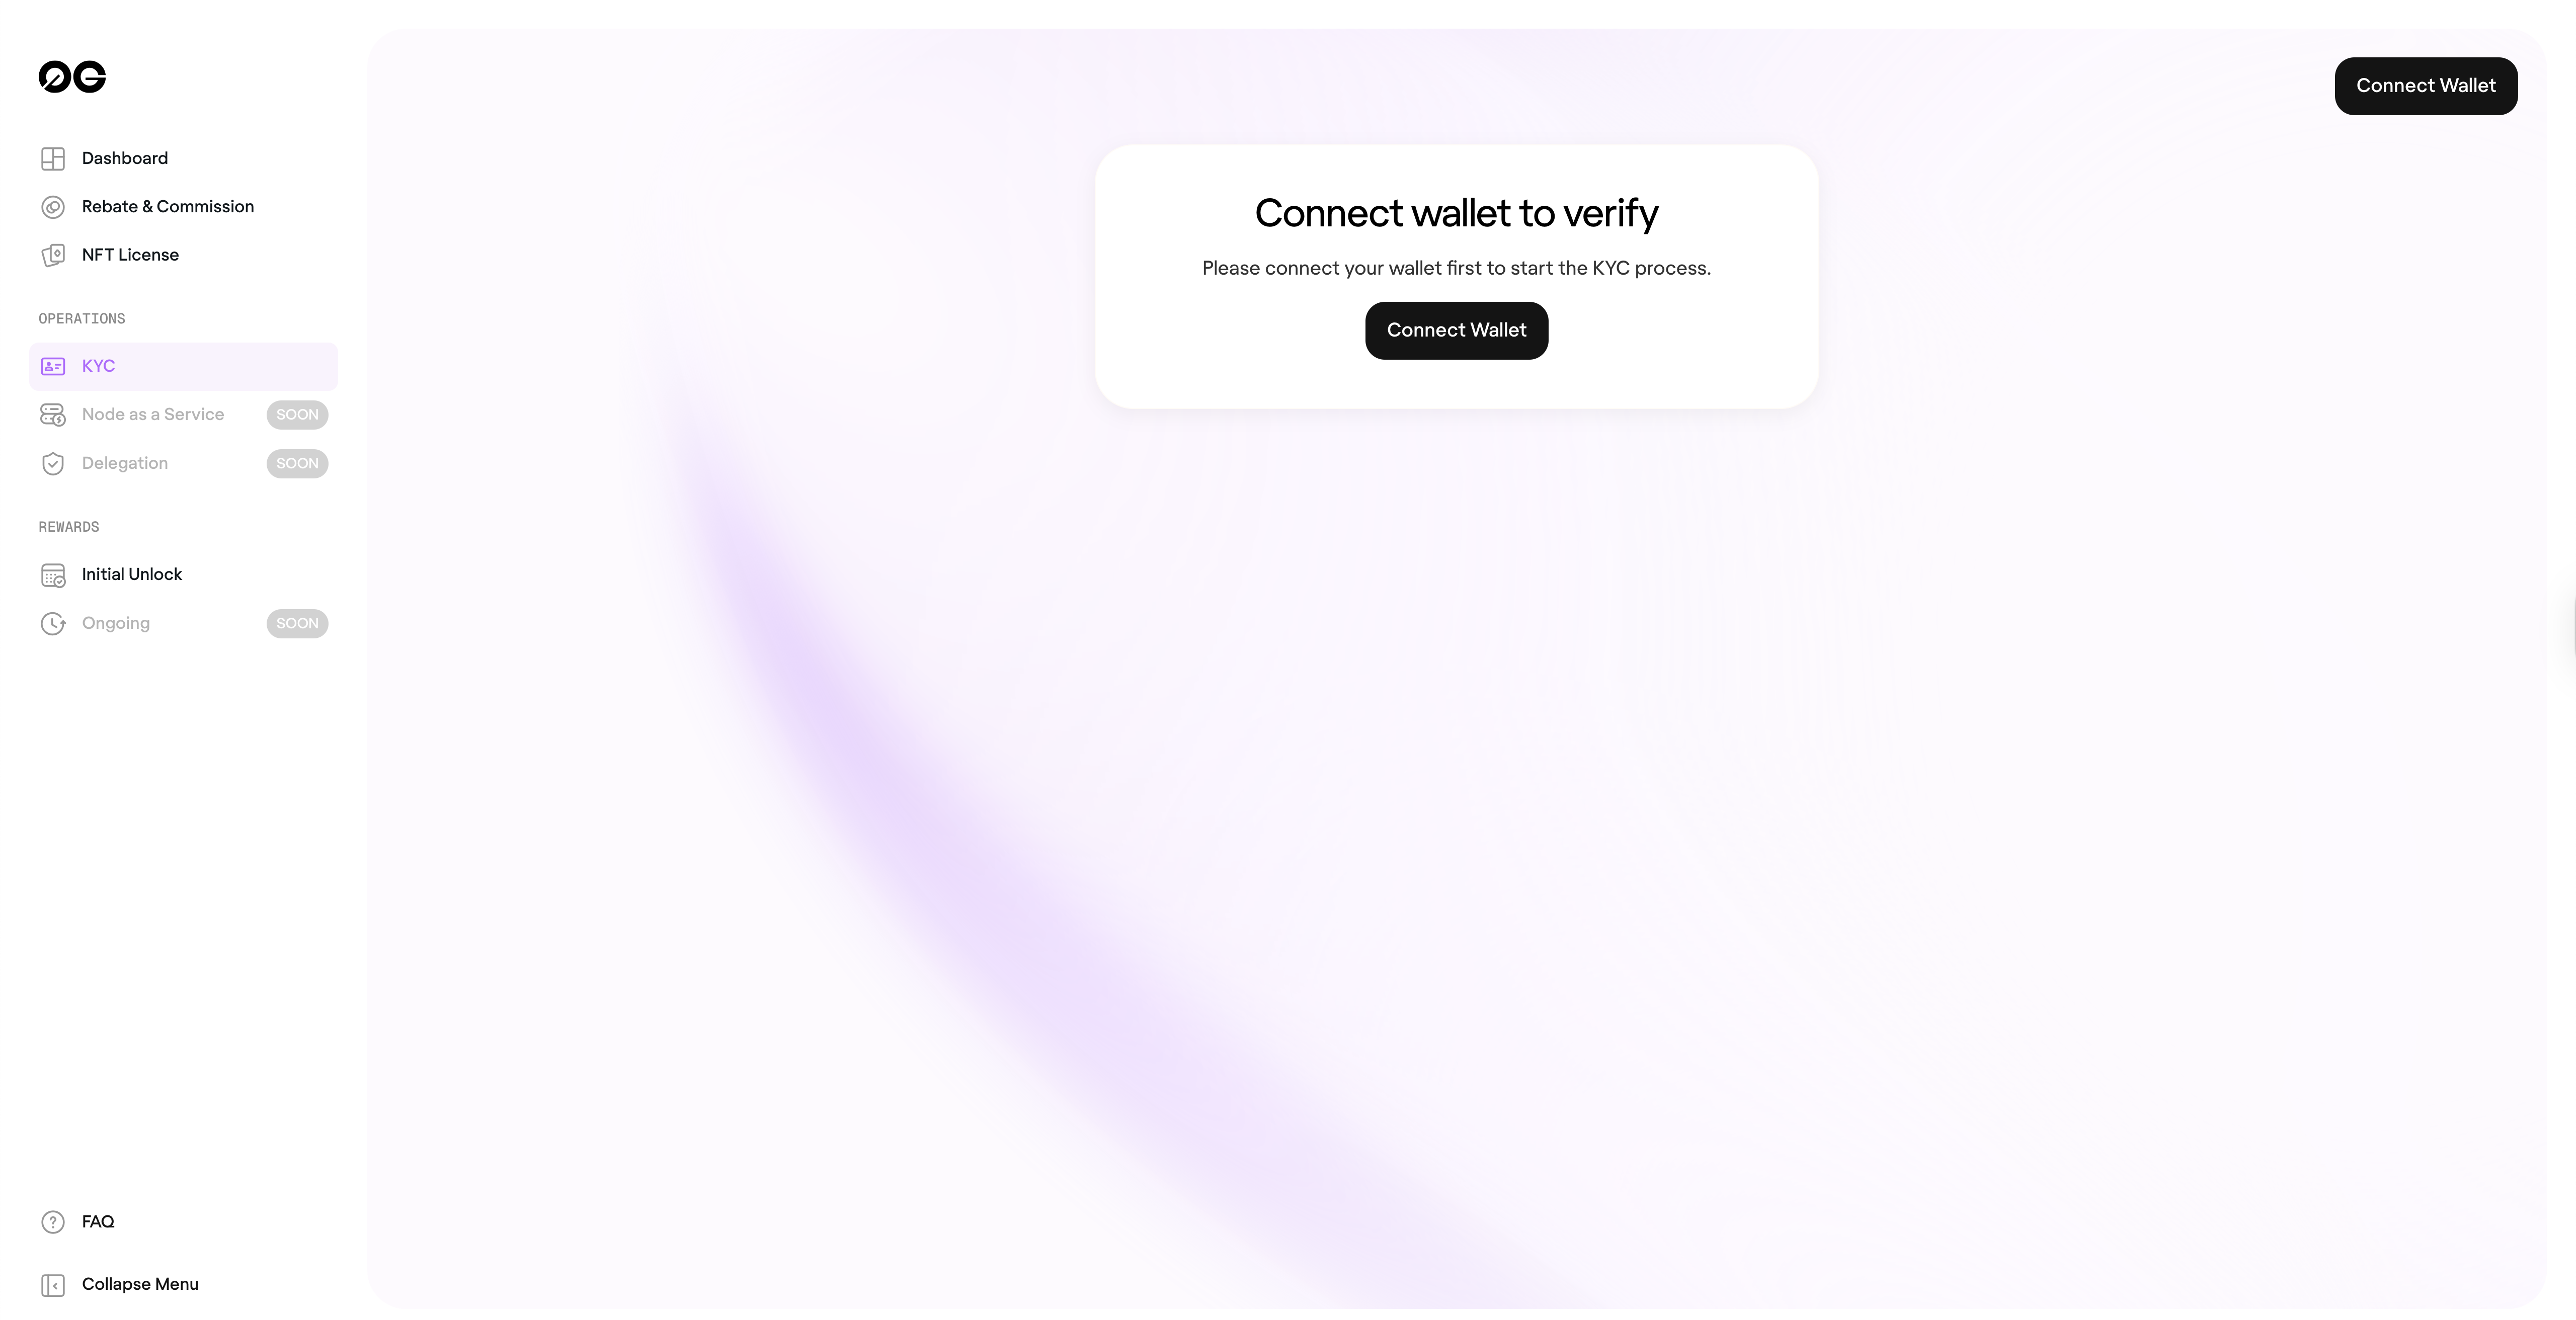
Go to the KYC page. Connect your wallet and click on "Start KYC" button.
Step 2: Submit Documents
Upload the required documents, complete the selfie verification. This submission can also be done on mobile for easier document upload.Make sure to close the mobile browser tab after submitting the documents before opening new session on desktop.
Step 3: Complete Wallet Verification
This step is critical and must be completed on desktop. Even if you submitted documents on mobile, you must complete this step on desktop so trigger the magic link again from portal (like the step 1), open the link in desktop browser and continue from there.
Step 1: Connect Your Wallet
Before beginning the KYC process, you'll need to connect your wallet to the 0G platform:
- Navigate to the KYC section in your dashboard
- Click "Connect Wallet" to initiate the verification process
- Wait for the wallet connection to be confirmed
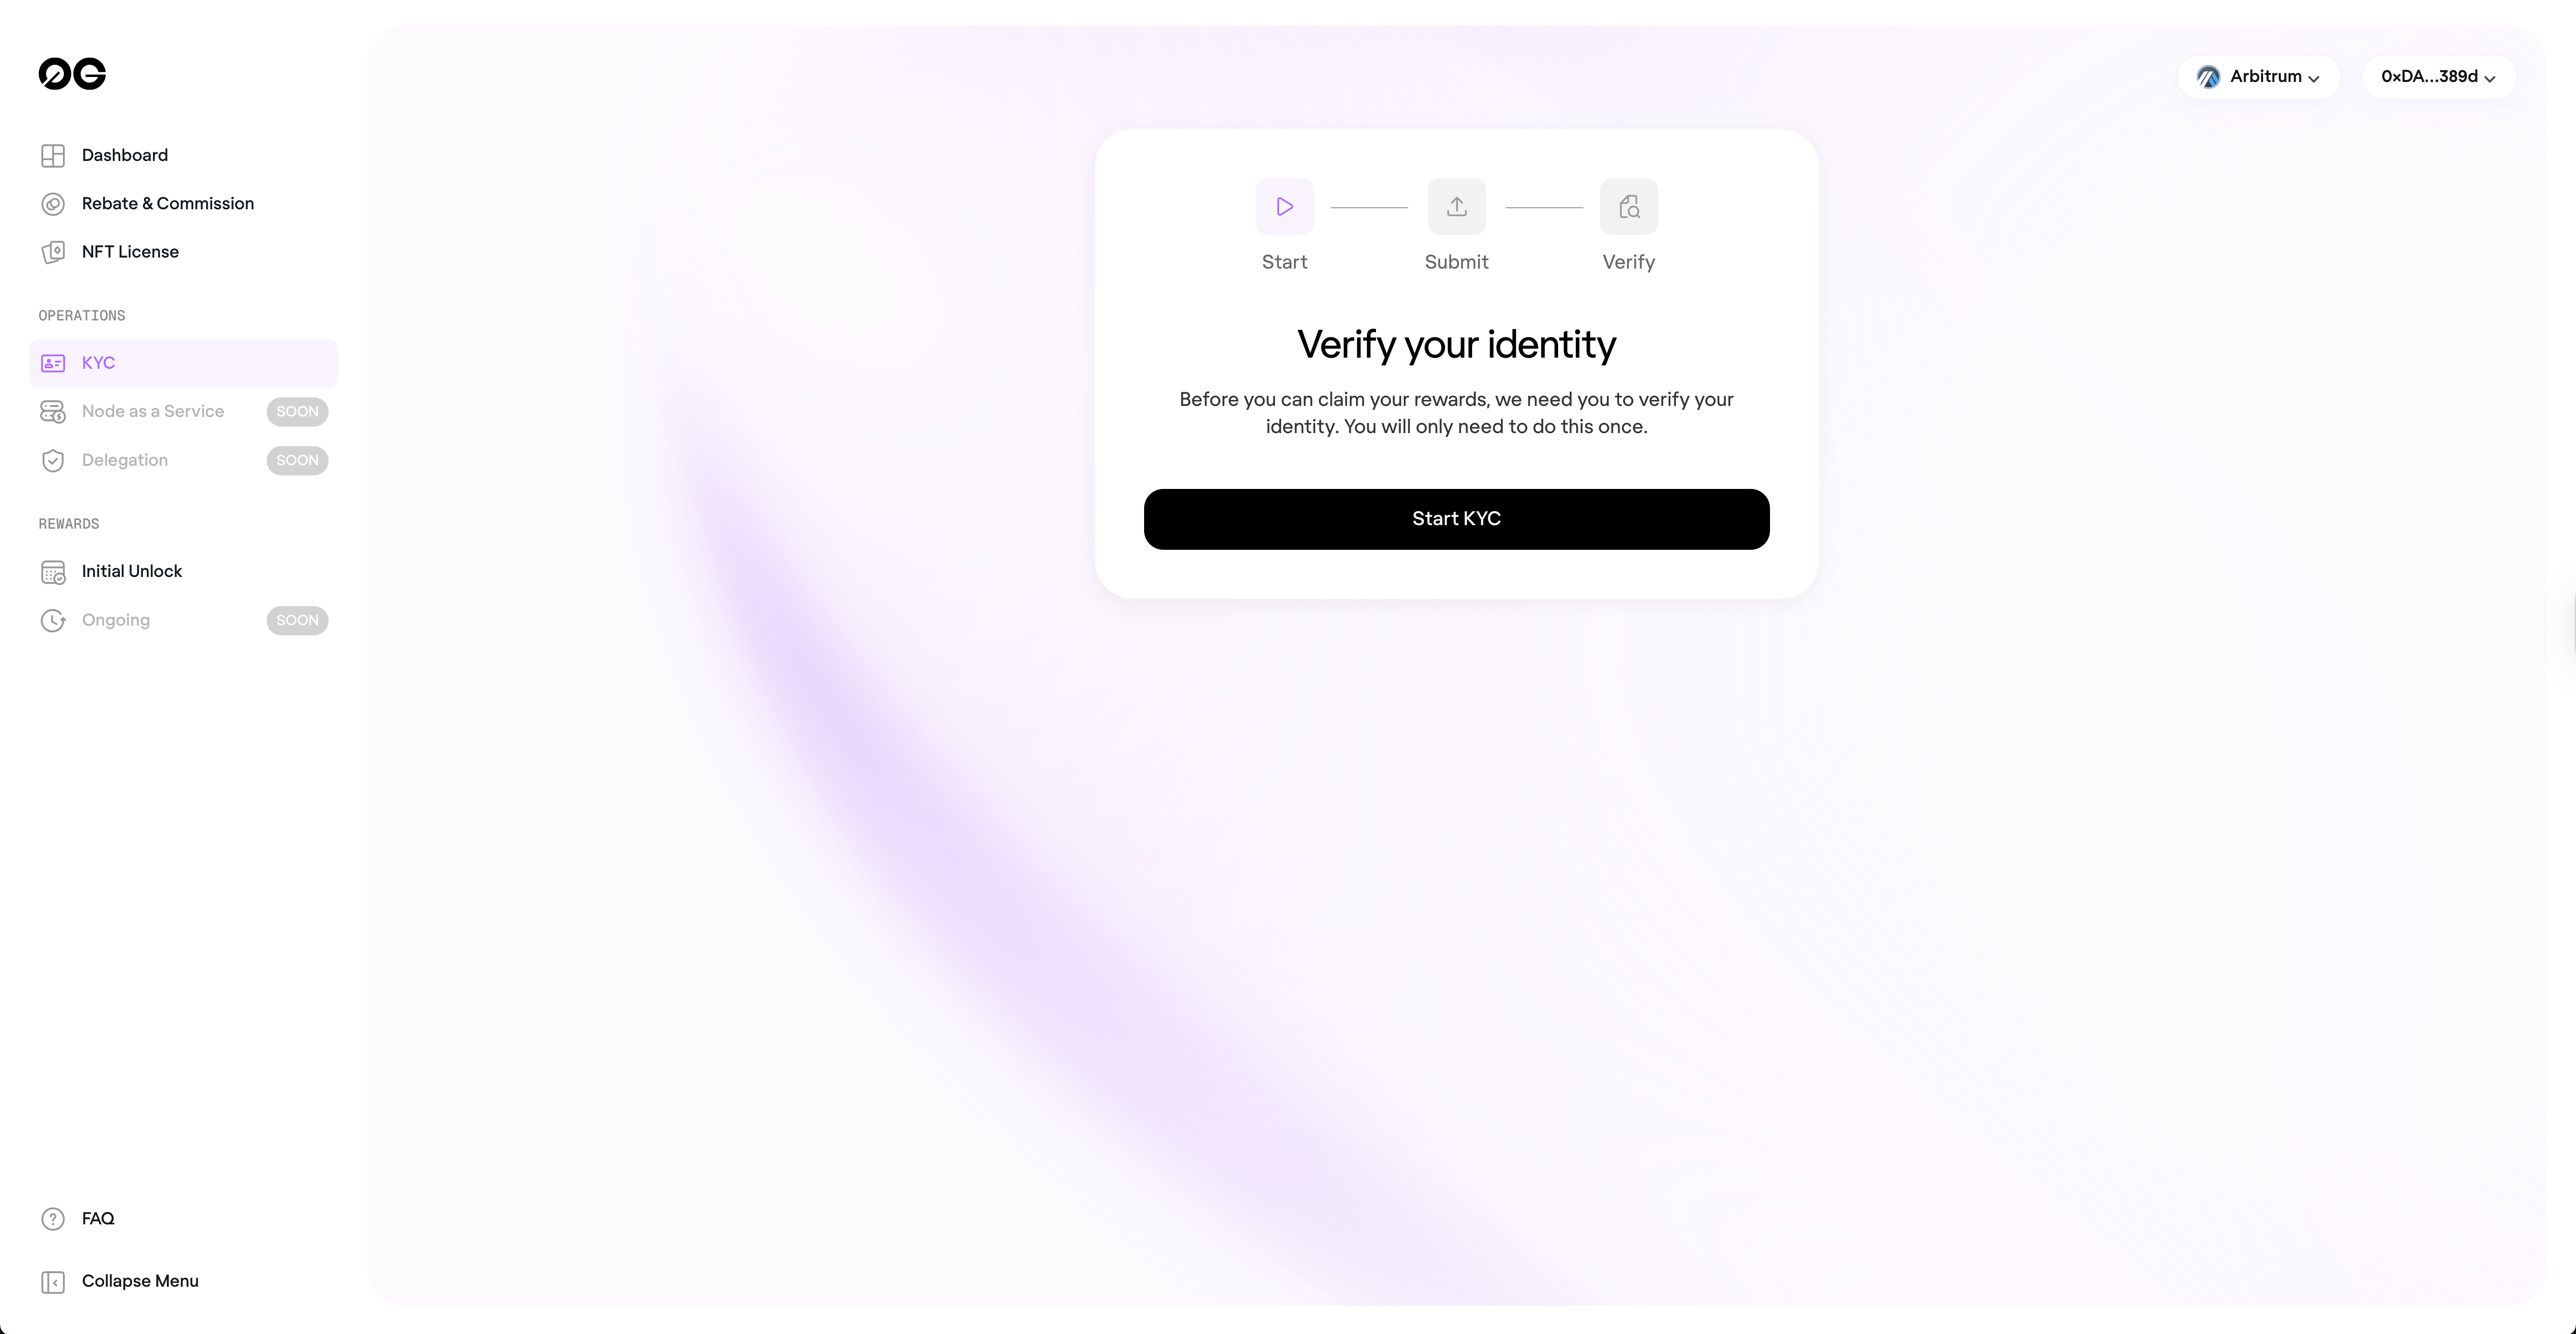
- Click "Start KYC" to get started
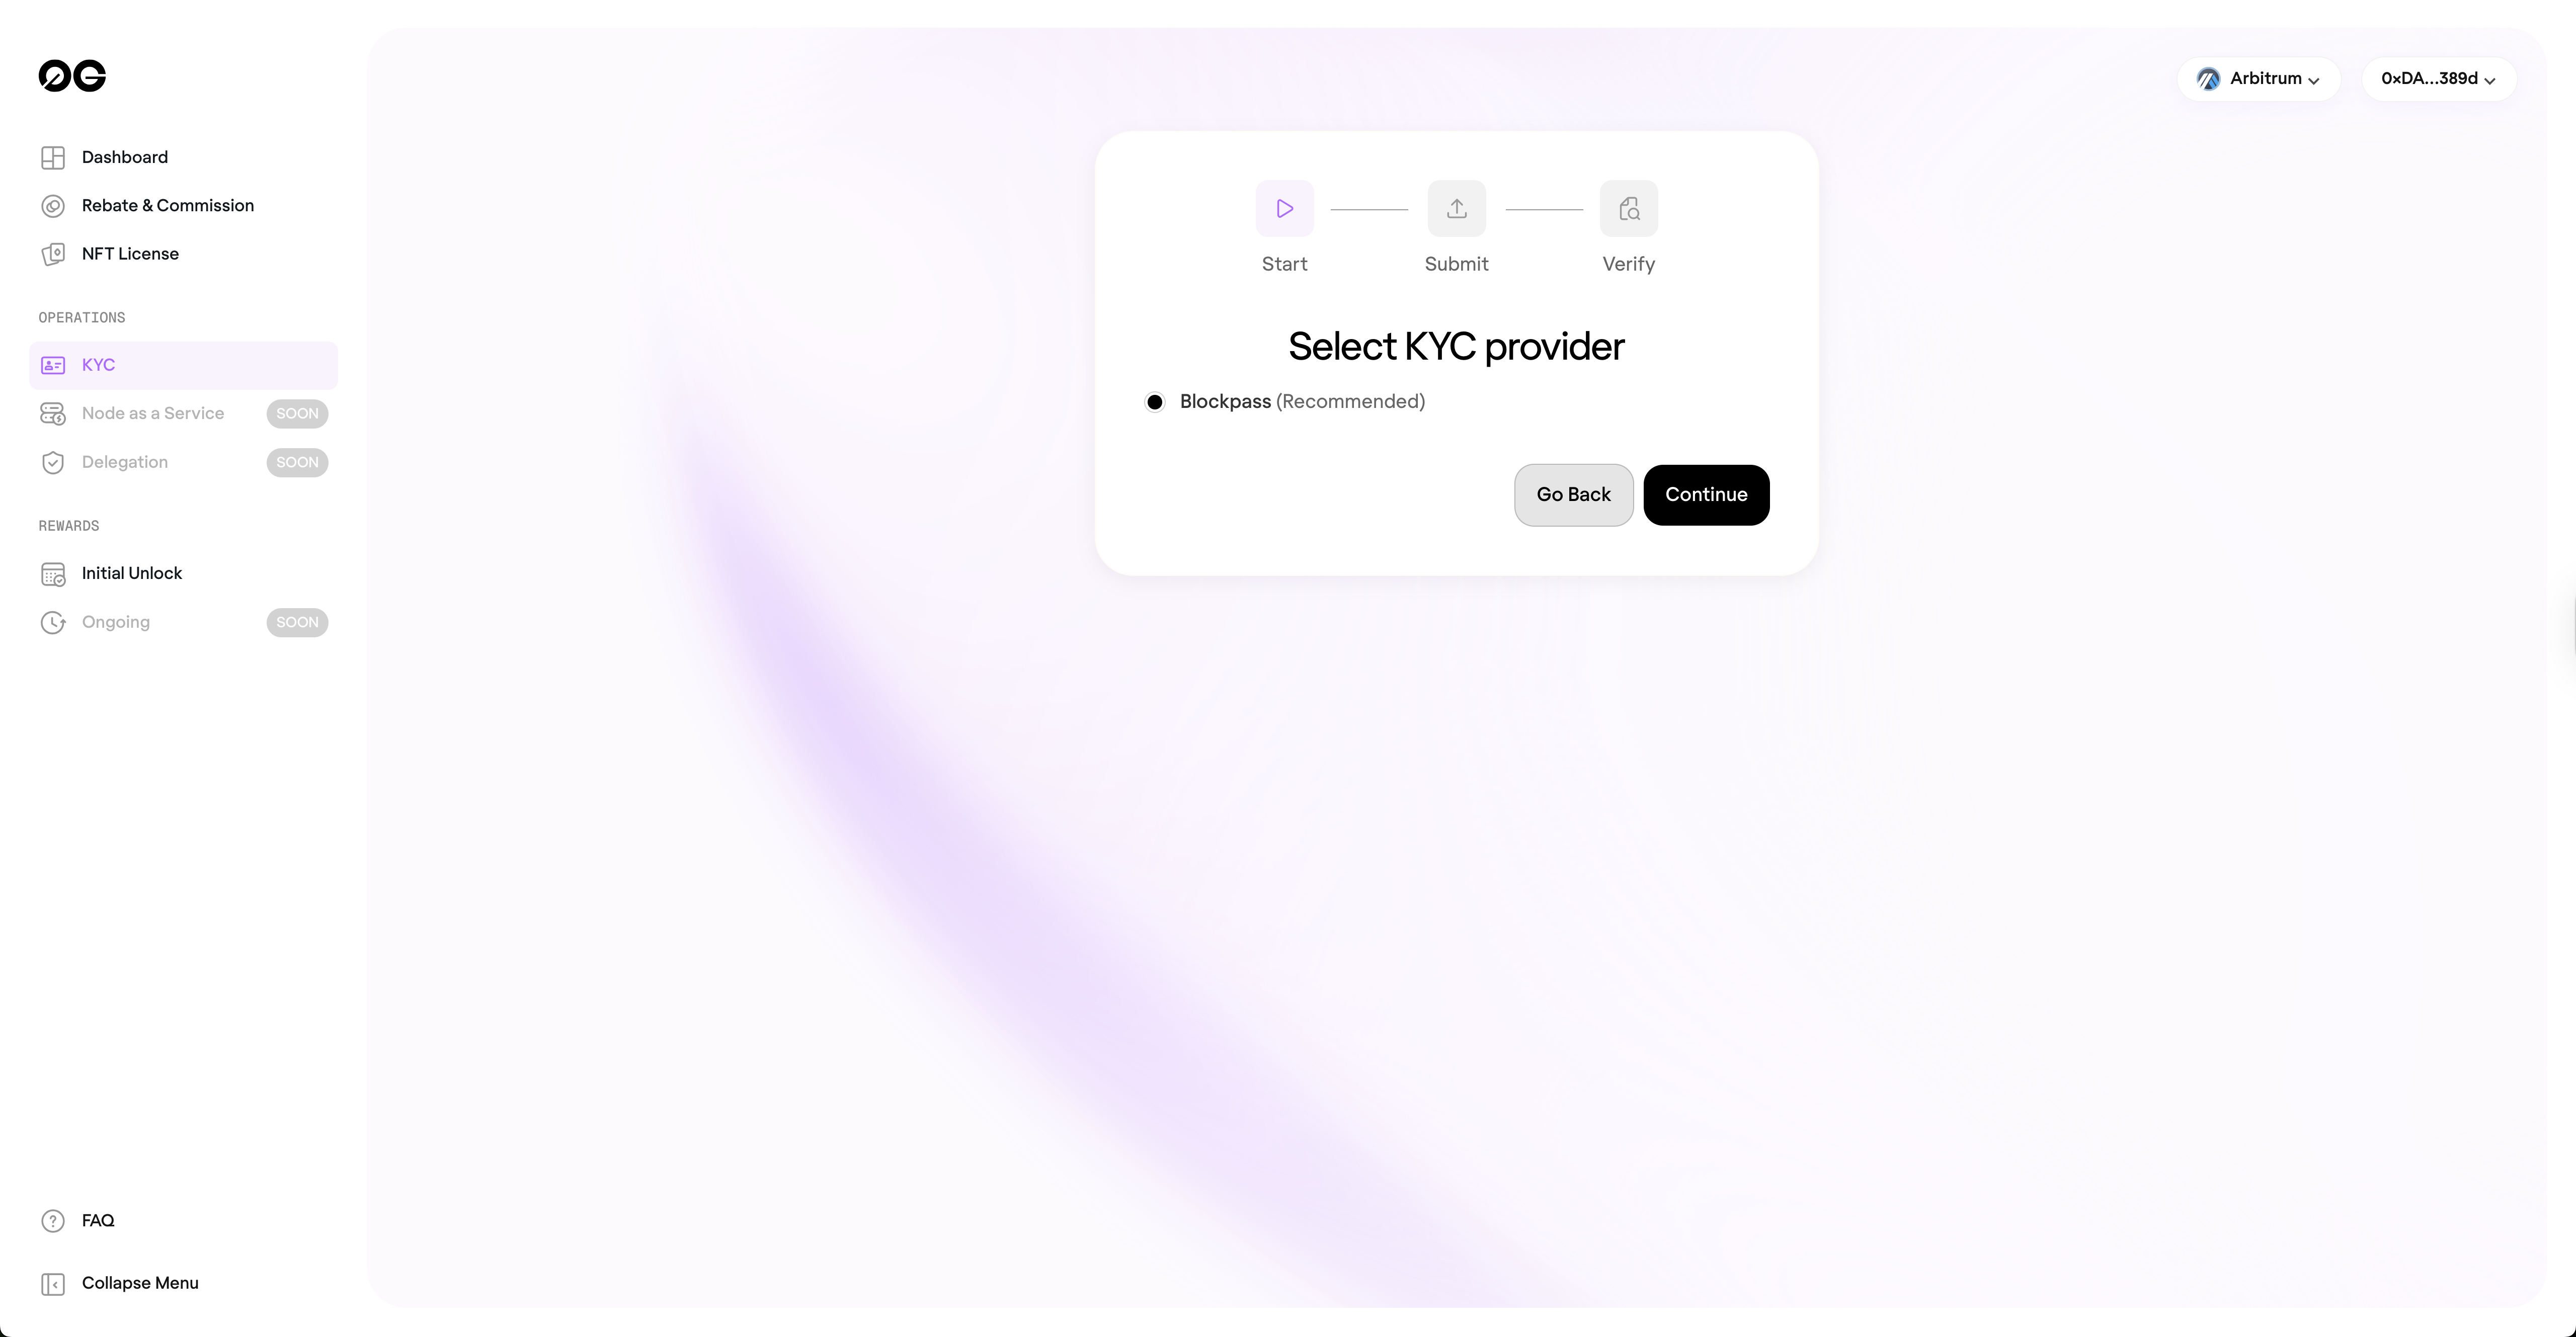
Step 2: Choose Your KYC Provider
Currently, Blockpass is integrated as our primary KYC verification service
- Select "Blockpass (Recommended)"
- Click "Continue" to proceed
Creating Your Blockpass Account
Email Registration Process
- Enter your email address in the Blockpass modal
- Choose whether to:
- Create a new account, or
- Use an existing Blockpass account
- For new users:
- A magic link will be sent to your email
- Check your inbox and click the link, This will take you to the document upload interface
If you've already started the process, Blockpass will remember your progress and allow you to continue where you left off.
Document Upload Process
Required Documents Checklist
You'll need to provide the following three types of verification:
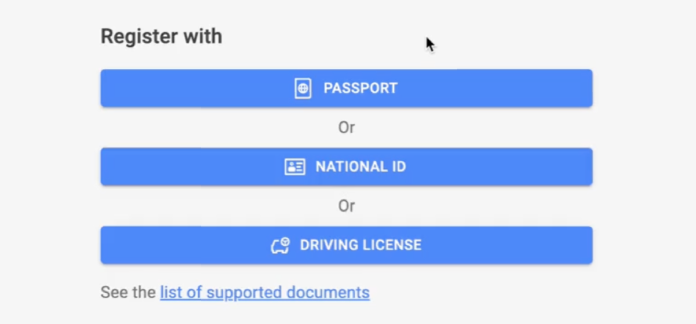
1. Government-Issued ID (Choose One)
- Passport
- National ID
- Driving License
2. Proof of Address
- Utility bill
- Bank statement
- Other supported documents
3. Liveness Verification
- Selfie verification with liveness check
Document Upload Guidelines
For ID Documents:
- Preparation:
- Open your document to the data page
- Find good lighting conditions
- Clean your camera lens
- Capture Requirements:
- All four corners must be visible
- Avoid glare and shadows
- Ensure text is clear and readable
- Document should fill most of the frame
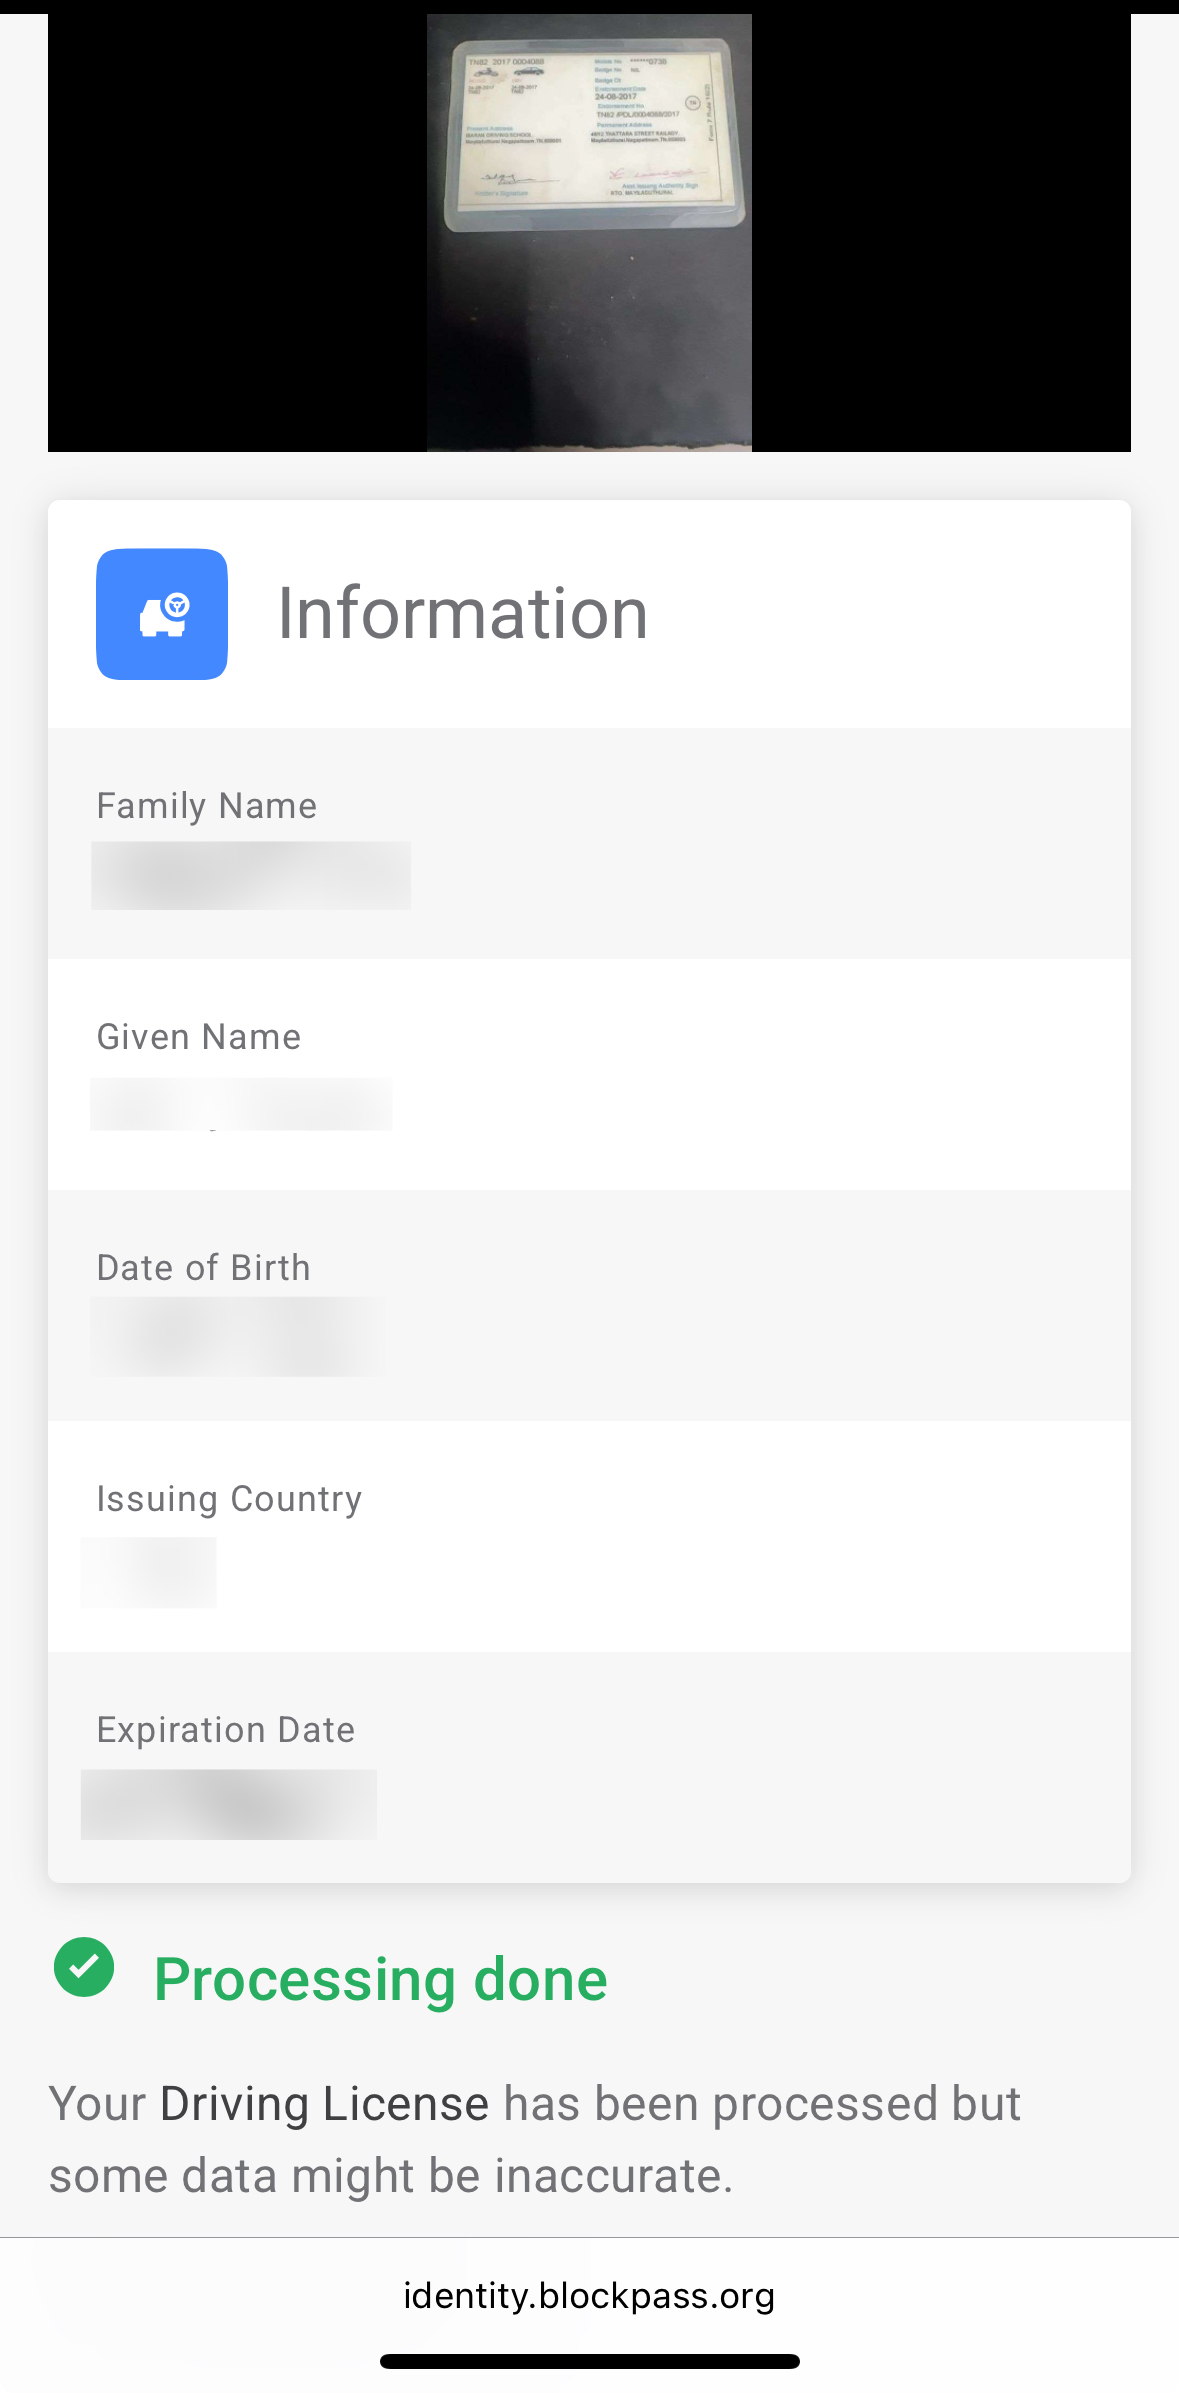
Even if the automatic data extraction shows incorrect information, proceed with submission. Our verification team will handle corrections during the manual review process.
For Address Proof:
- Upload a document from the supported list
- Ensure your current residential address is clearly visible
- Document should be recent (typically within 3 months)
For Selfie Verification:
- Setup:
- Find a well-lit room
- Remove glasses if they cause glare
- Position yourself at arm's length from camera
- Process:
- The system will auto-capture your face
- Follow on-screen prompts:
- Look straight ahead
- Turn your head left when prompted
- Turn your head right when prompted
- Complete all requested movements
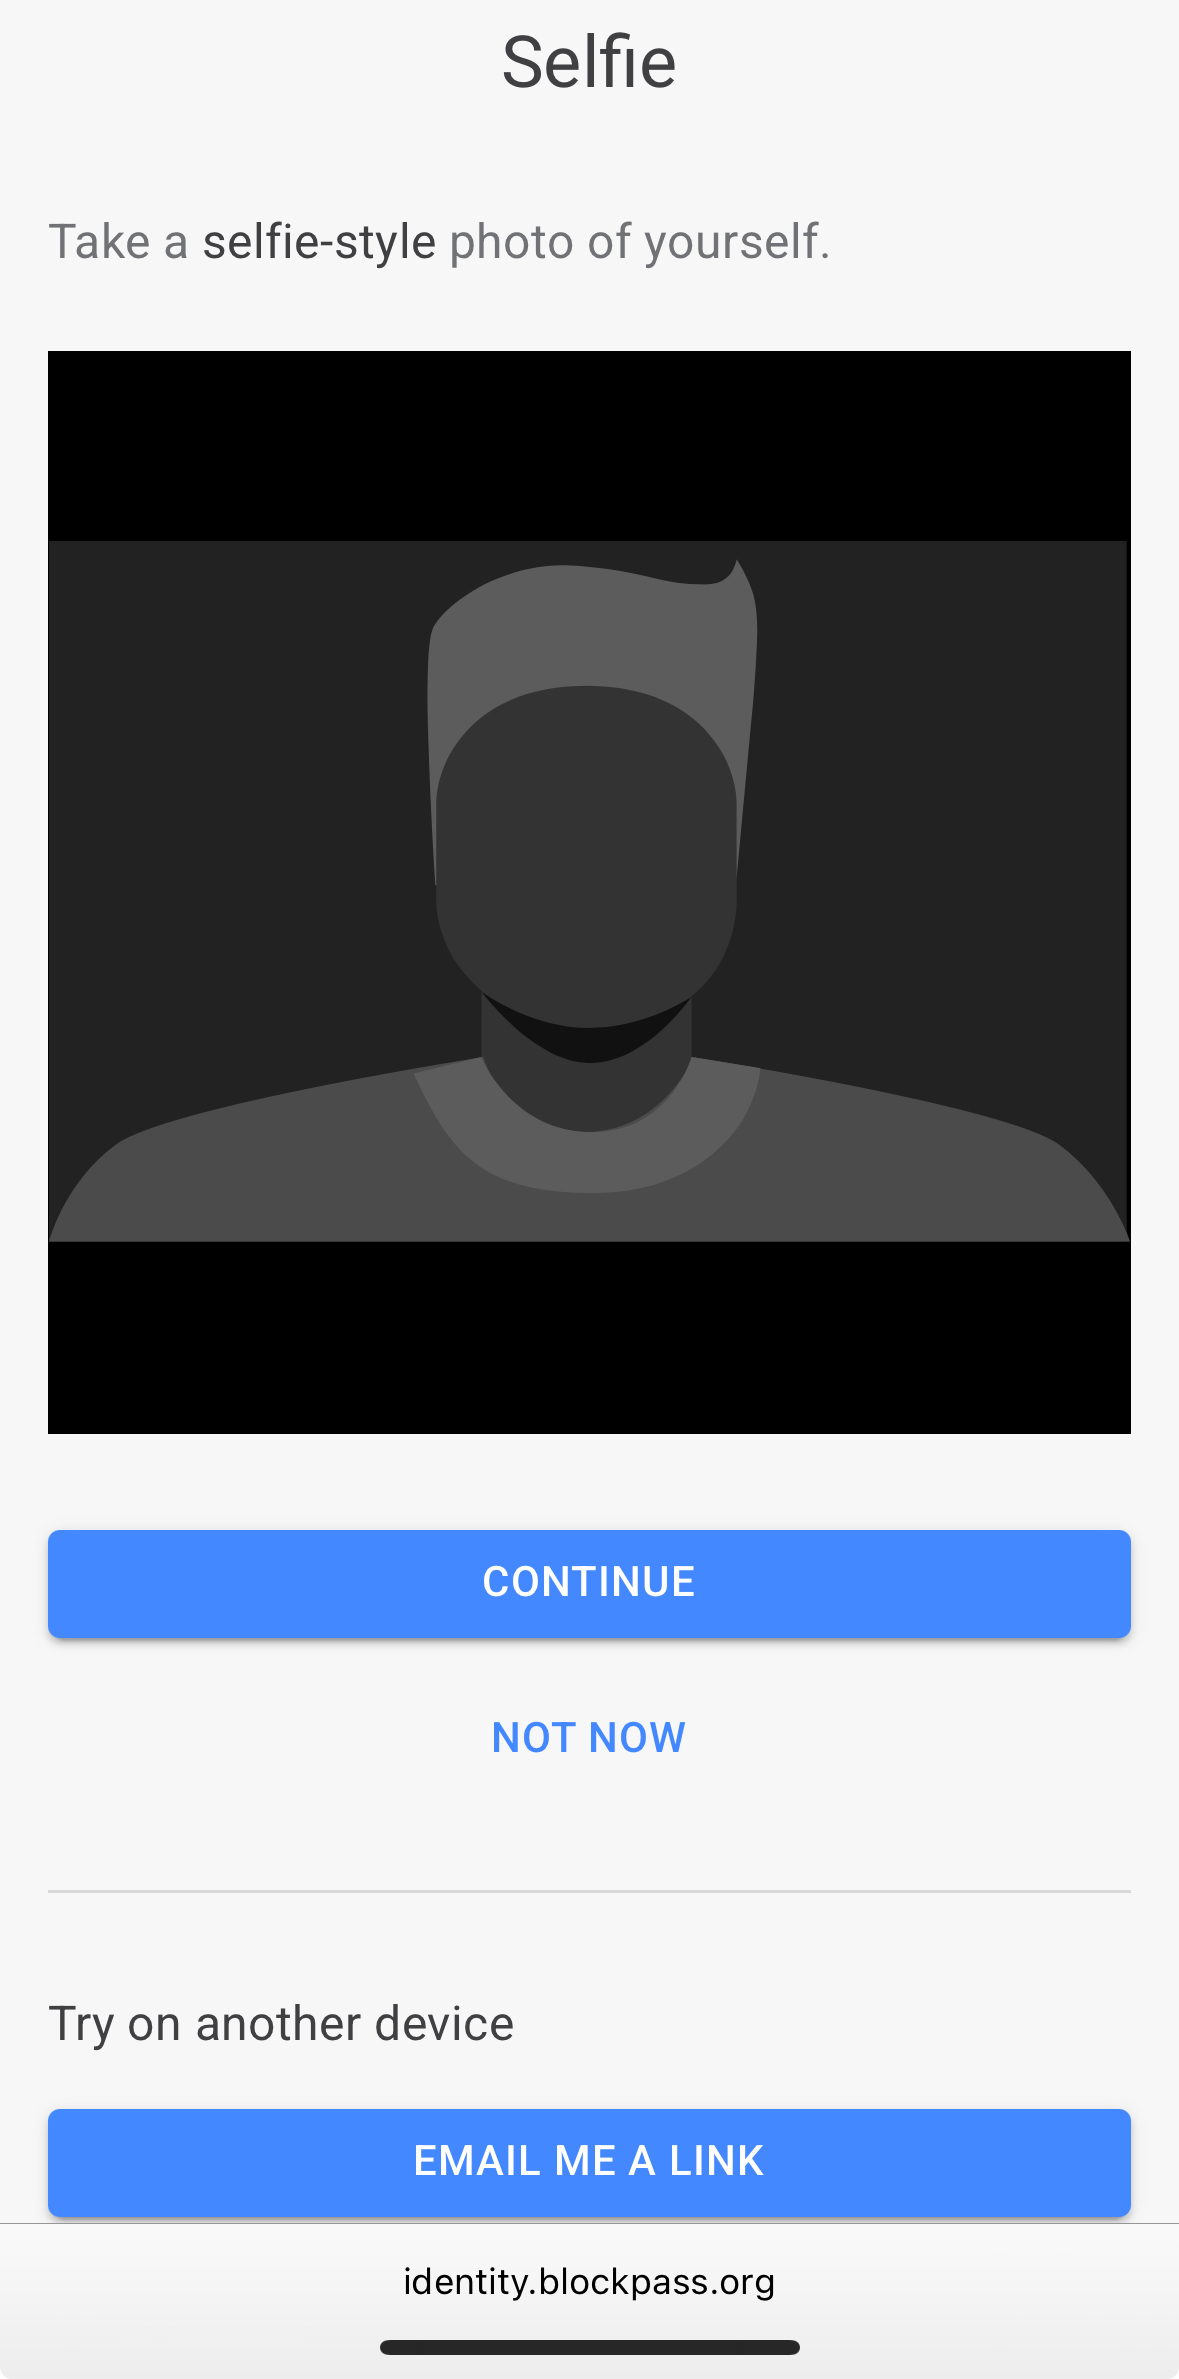
Cross-Device Flexibility
One of Blockpass's convenient features is seamless cross-device compatibility:
- Use the "Email me a link" button on any page
- Continue your KYC process on any device
- All progress is automatically saved
- Switch between mobile and desktop as needed
Recommended Workflow:
- Mobile: Upload documents using your phone's camera
- Desktop: Complete wallet verification for better experience
- Either: Check status and make corrections
Wallet Verification (Critical Step)
Desktop Strongly Recommended
While you can complete most steps on mobile, we strongly recommend using a desktop or laptop for wallet verification.
Benefits of Desktop Verification
- Better signing experience
- More stable connection to wallet extensions
- Smoother completion of mandatory signing
How to Switch to Desktop
-
Complete initial steps on mobile (if preferred):
- Upload all documents
- Complete selfie verification
- Close the mobile browser tab
-
Continue on desktop:
- Open Blockpass on your desktop browser
- Log in using the same email address
- Use magic link or password to access your account
-
Resume verification:
- Select "Register with document"
- Choose the same ID type you selected earlier
- All your information will be pre-filled from the last session
-
Complete wallet verification:
- Connect your wallet (MetaMask, WalletConnect, or Coinbase)
- Sign the verification message when prompted
- Confirm the signature in your wallet app
The wallet signing step is mandatory. Submissions without proper signing will NOT be approved due to KYC compliance requirements.
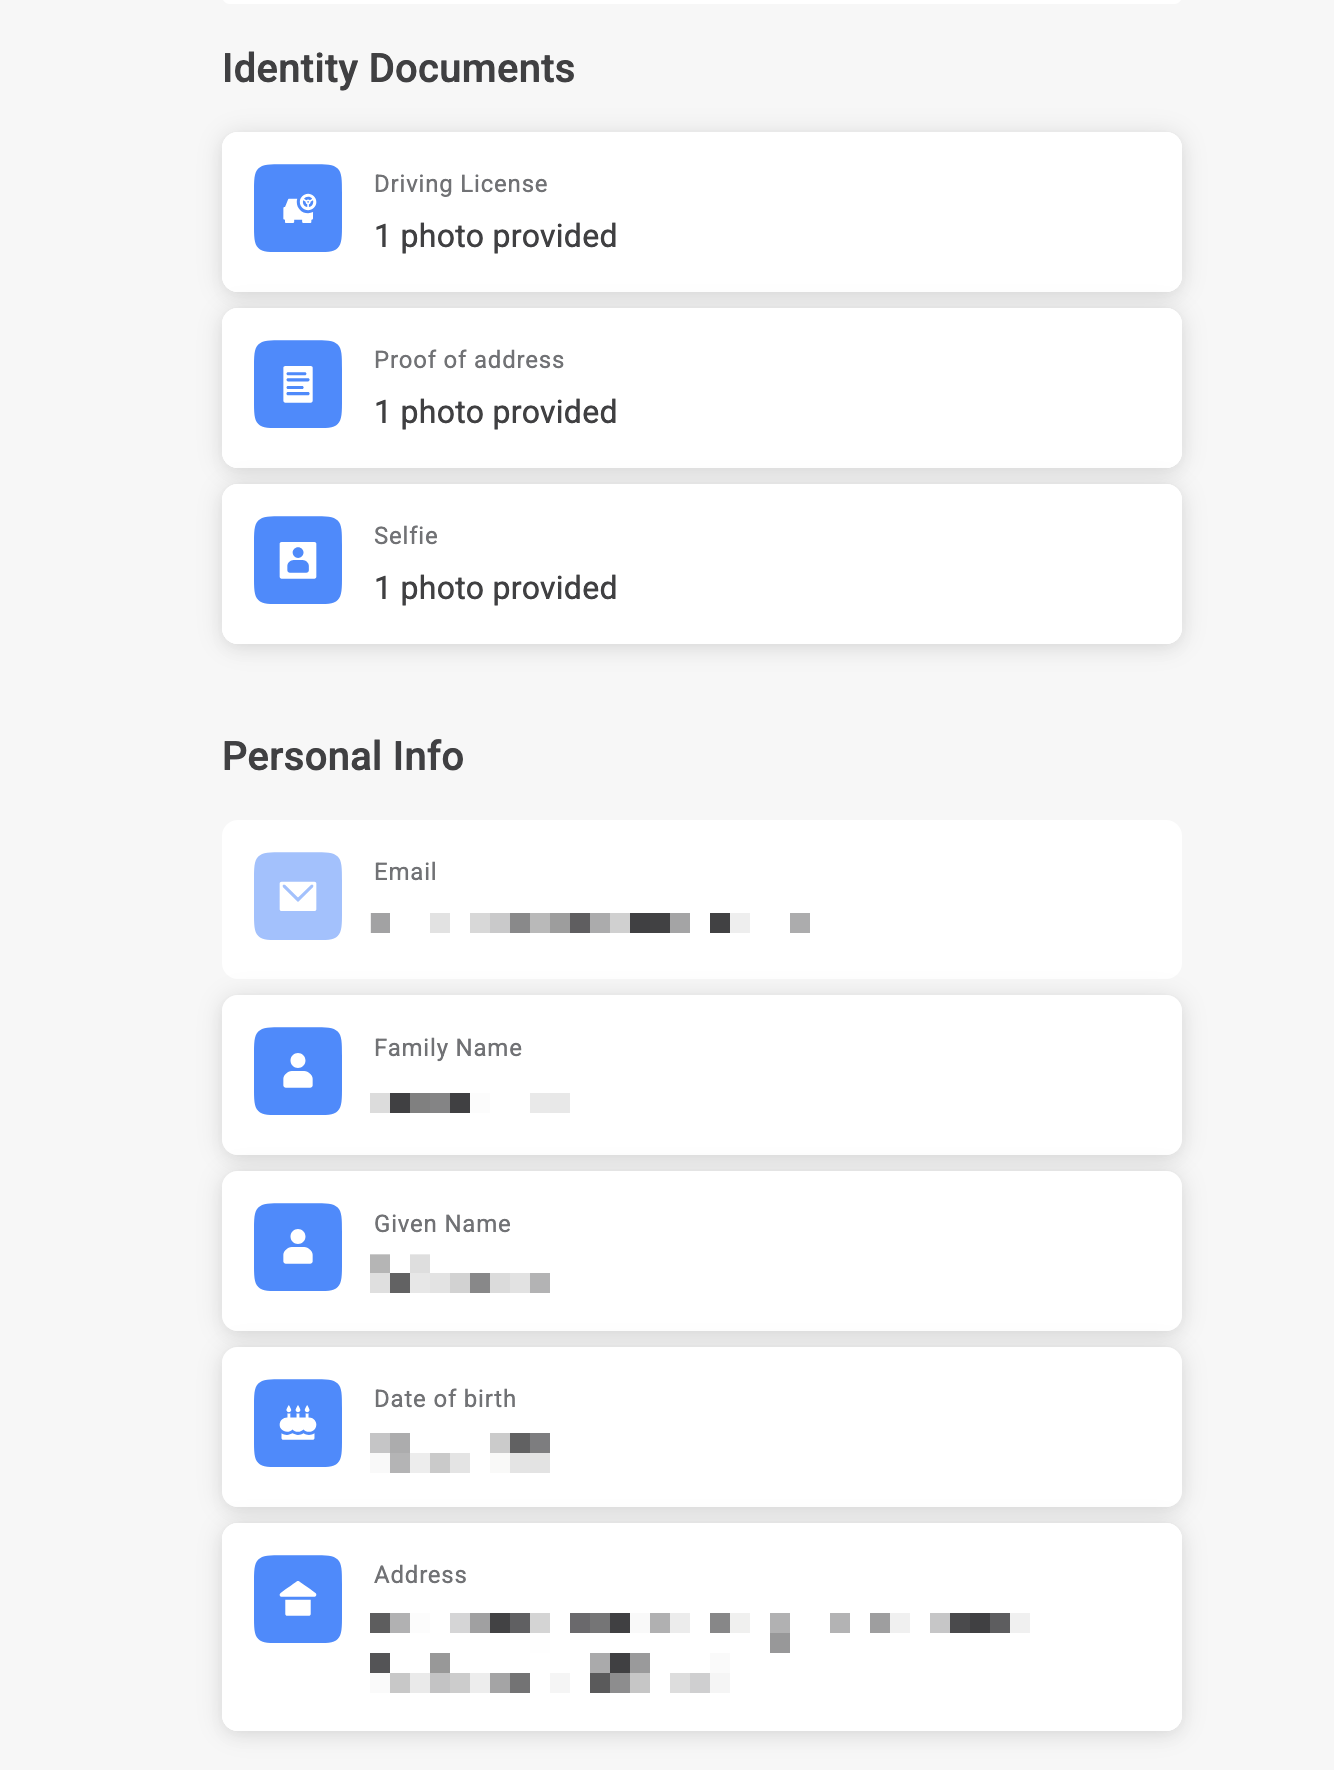
Final Submission
Before Submitting:
- Review all uploaded documents
- Ensure wallet is properly connected and verified
- Check that all sections show "completed" status
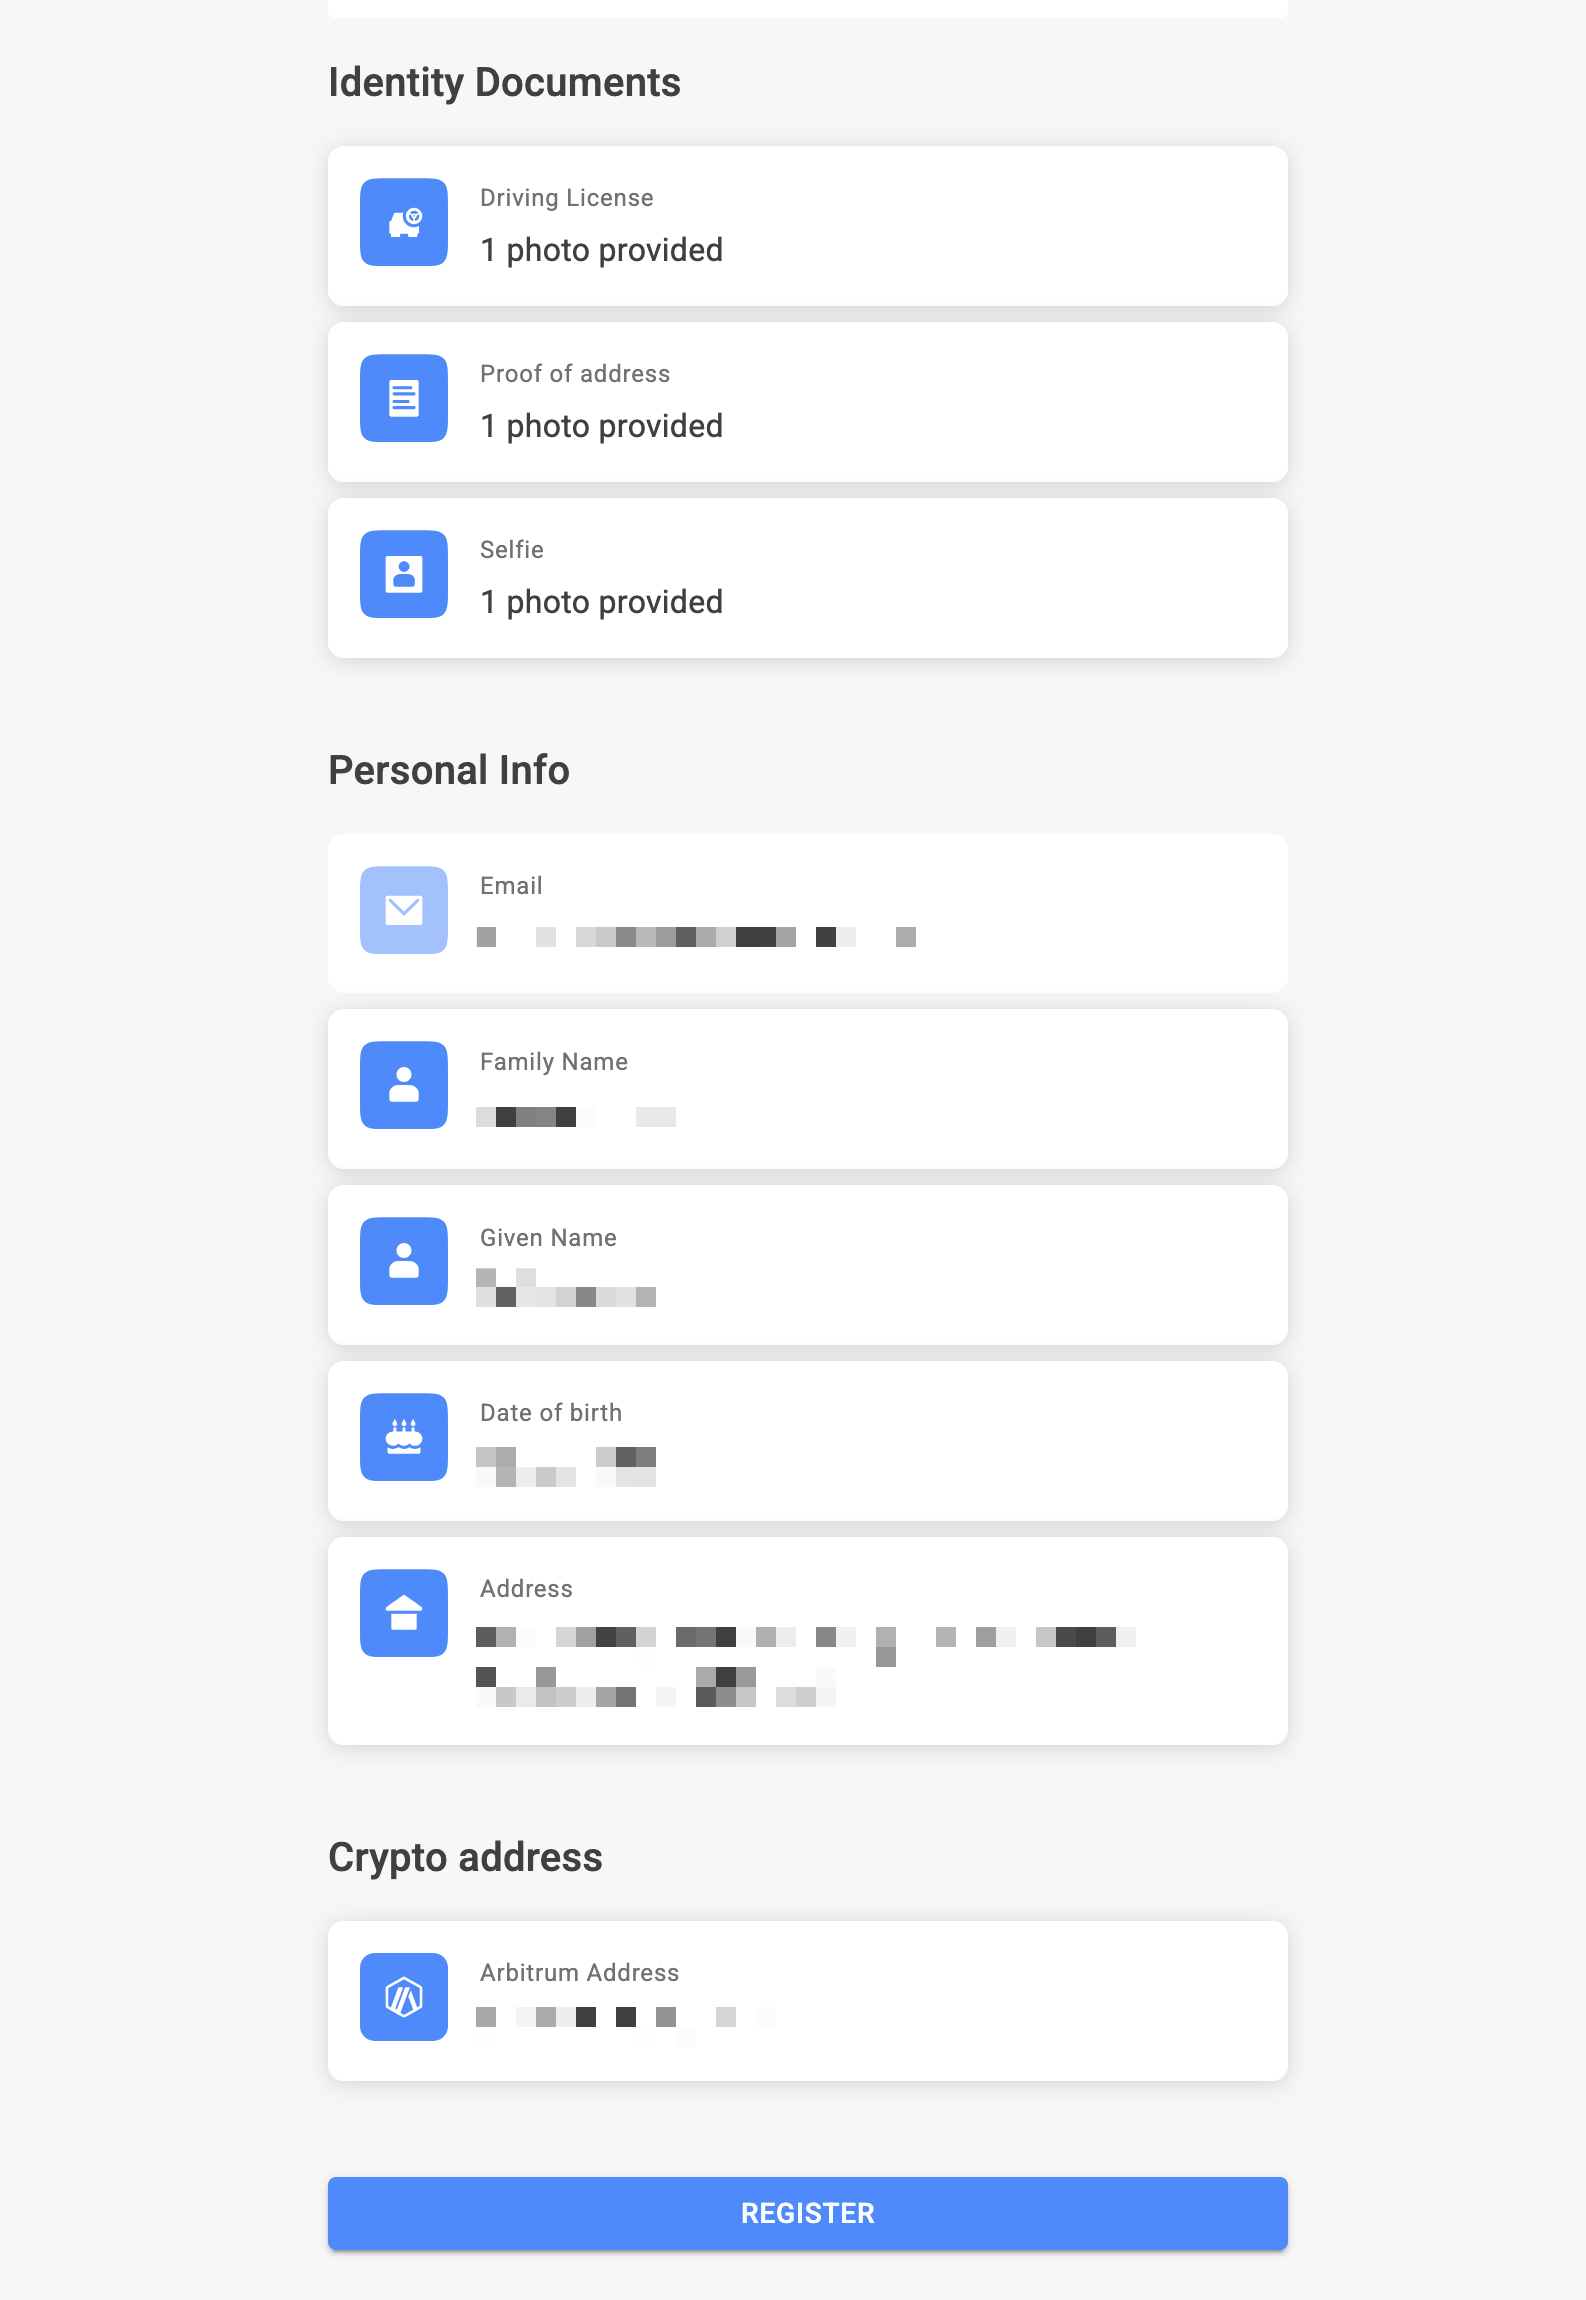
To Submit:
- Once all steps Completed
- The "Register" button will become active
- Click "Register" to submit for KYC verification
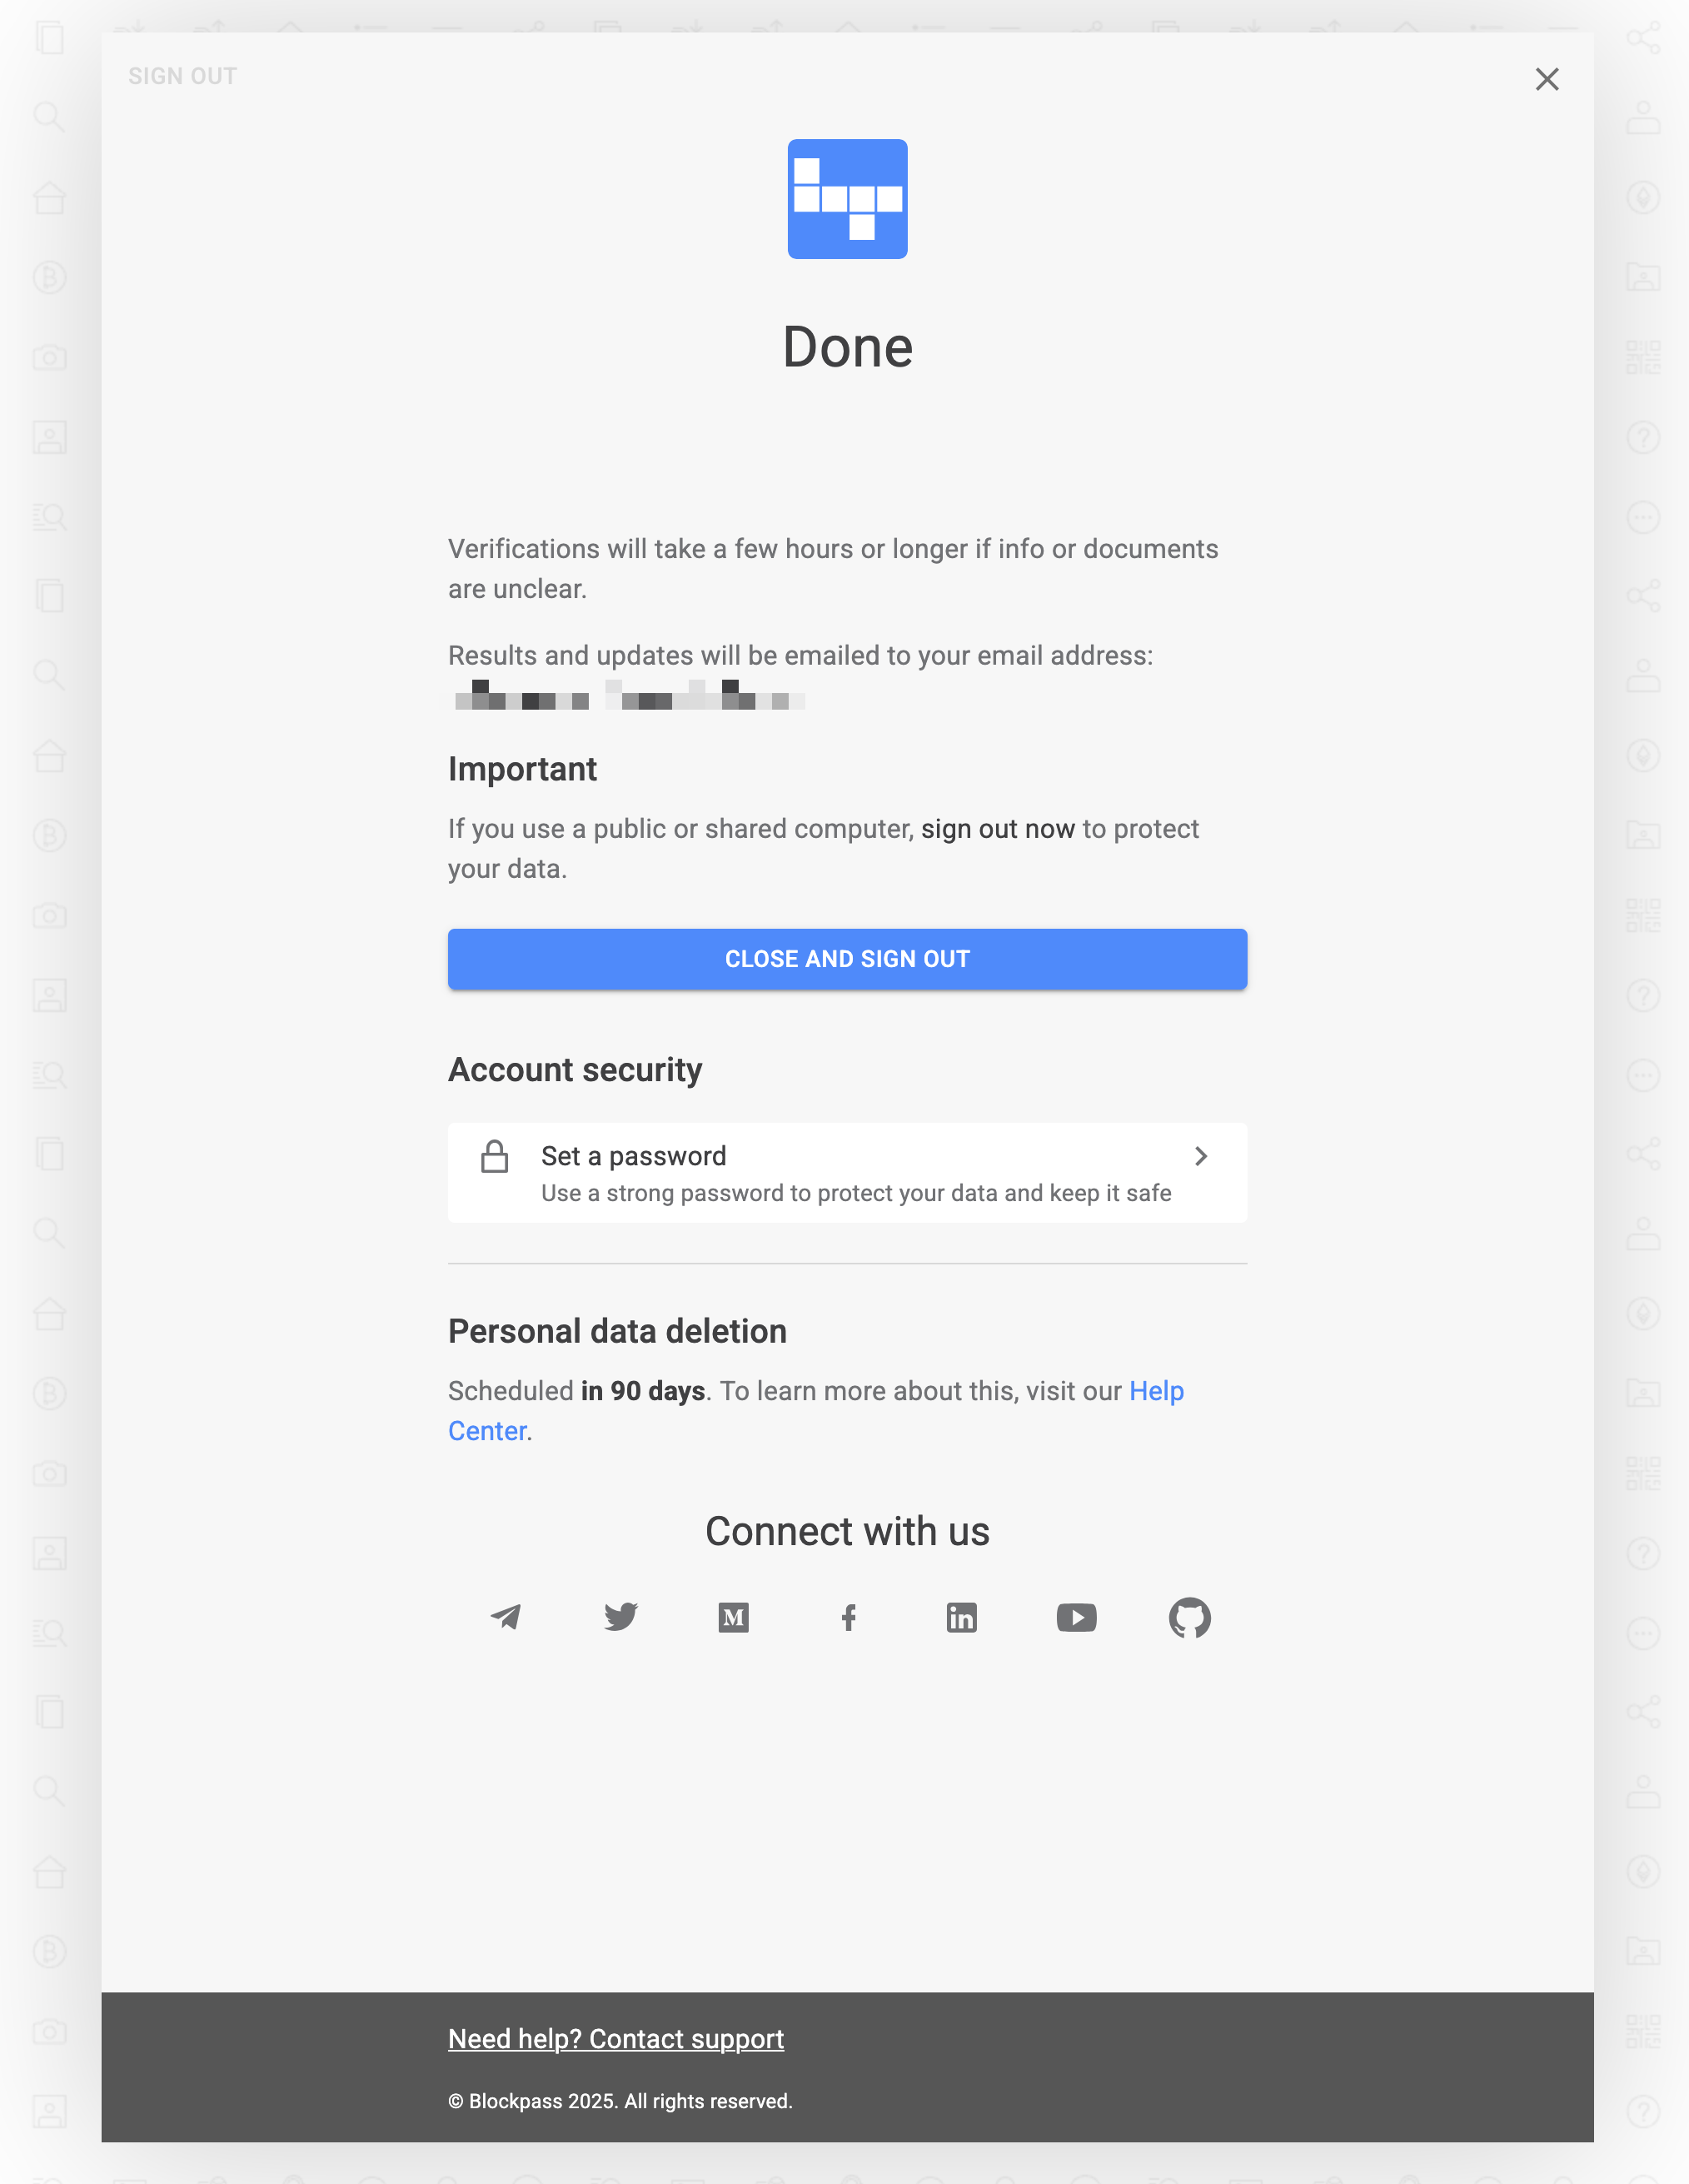
- You'll see a confirmation screen, You can set password on this screen for future changes
Verification Timeline
| Stage | Timeframe |
|---|---|
| Initial Review | 24-36 hours |
| Additional Checks (if needed) | 12-24 hours |
| Final Approval | Email notification |
What to Expect:
- Email notifications at each stage
- Clear feedback if any issues arise
- Direct communication for any clarifications needed
Handling Rejections
If your KYC application is rejected, don't worry! Here's what to do:
Steps to Resubmit:
- Check your email for specific rejection reasons
- Log back in using the same email address
- Navigate to the rejected document section
- Update only the required documents or information
- Resubmit for re-verification
Frequently Asked Questions
How can I ensure my documents are accepted on first submission?
- Use good lighting and steady hands when taking photos
- Ensure all documents show matching details
- Use valid, non-expired identification
- Clean your camera lens before capturing documents
- Make sure all four corners of documents are visible
- Avoid glare and shadows
What's the best way to complete the KYC process?
- Complete the process in one session if possible
- Have all documents ready before starting
- Use Chrome, Safari or Firefox browsers for best compatibility
- Disable VPN during verification
- Use desktop for wallet signing, mobile for document photos
- Don't log in to the same account on multiple devices simultaneously
Is my personal information secure?
Yes, your KYC information is protected with:
- End-to-end encryption for all uploads
- Secure storage in compliance with GDPR
- Information used only for verification purposes
- No sharing with third parties without consent
My camera won't activate, what should I do?
Check browser permissions for camera access and ensure your browser allows camera usage for the KYC site.
I can't connect my wallet, how do I fix this?
Try using a different wallet or browser. Make sure pop-ups are enabled and you're using a desktop for the best wallet connection experience.
My document upload keeps failing, what's wrong?
Check that your file size is under 10MB and you have a stable internet connection. Try refreshing the page and uploading again.
The verification message won't sign, what should I do?
Switch to desktop and try a different browser. The wallet signing step works best on desktop computers.
My email link expired, how do I get a new one?
Request a new magic link from the login page. Wait at least 5 minutes before requesting another link.
What are common reasons for KYC rejection?
Common reasons for KYC rejection include:
- Blurry or unclear document images
- Expired identification documents
- Address mismatch between documents
- Incomplete wallet signature
- Poor selfie quality or failed liveness check
If your KYC application is rejected, check your email for specific rejection reasons and resubmit the corrected documents.
Need Help?
Discord Community: Join our Discord for peer support and quick answers from the team.
Support: Contact us on Discord with screenshots and clear steps to reproduce any issues.
Disclaimer: This guide is for informational purposes. KYC requirements may vary by jurisdiction. Always ensure you comply with your local regulations.